What are Angular Workspaces and Libraries, and why should I care?
Angular version 6 introduced Workspaces and Libraries to accommodate the increasingly popular monorepo pattern. Version 7 made this strategy easier with the addition of the Angular CLI --create-application option and can save you and your organization time, money, confusion refactoring, and more. Ultimately, Angular Workspaces and Libraries provide a way to better organize your code for multiple applications.
Following this strategy, you’ll be able to structure your code in a way that maximizes reusability and minimizes your time spent looking for or refactoring code in multiple applications. You’ll also be equipped to standardize code/UI style across your organization, not just individual applications.
Where are we going?
The end goal is to have multiple applications utilizing dynamic/reusable components and services written in a shared library or libraries.
Most companies start out with one application. You have a few different views, and maybe you’re even using a container presenter model for the organization of code. That’s great, but we want to take that same approach to the next level: multiple applications.
Let’s say you’re part of a team building an online shoe store. You’ve received approval to update/re-write the web app and admin portal in the latest version of Angular. Currently, these two applications each have a unique git repository. Even though you’re working with the same API and database, the components and services interacting with them are kept separate, often duplicating functionality. Enter the Angular Workspace.
Directory structure: How the files relate
Workspaces were introduced in Angular version 6, but the method to create one was a little complicated. The CLI command ng new {app-name}would generate a standard single page application with a src/ directory containing your application. This is great for one application and no libraries, but not so great for a workspace with multiple applications and libraries. It required a fair amount of refactoring to get things right. However, the Angular team saved us this work in version 7 when they introduced the --create-application option.
Now, when creating a workspace, using the command ng new {app-name} --create-application=false generates the base structure and configurations for your workspace. When you generate your first application or library, a new projects/ directory is created with your application or library nested inside.
Product Lib
Web App
Web Admin App
Each of these “projects” was generated by the Angular CLI. For the Products library, we used ng generate library products. For the Web and Web Admin applications, we used ng g application web-app & ng g application web-admin.
Step by step
Our first step after generating the Products library was to create a ProductsService allowing us to make a few requests to a json-server “API”. Check out their GitHub page if you want more information on json-server. It’s a great way to mock an API and database for quick prototypes.
From there we have the ProductListComponent, which has an @Output called productClicked. This allows the component using <lib-product-list> to handle the event however it needs to. We've injected the ProductsService through the constructor, and define the products%content%lt;/span> observable in the ngOnInit. Looking at the template, products%content%lt;/span> is iterated over in an *ngFor on the <lib-product> element using the async pipe.
The ProductComponent then takes an @Input of product and displays the product name, image, and price in the template.
Next, we’ll take a look at the Web App. For the sake of this demo, We haven’t included routing in the Web App, and everything is contained within the AppComponent.
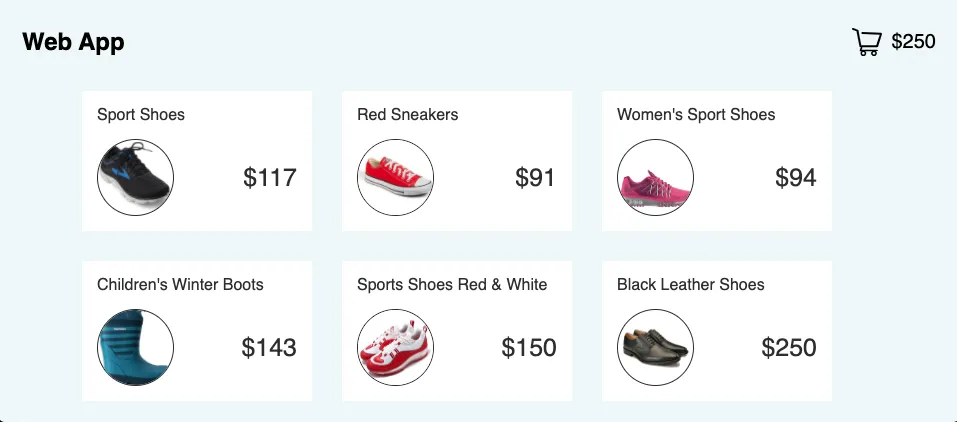
The AppComponent has a handleProductClicked method which is triggered by the ProductListComponent@Output() productClicked and will add the product’s price to the cartAmount when clicked. In the template, we display a simple header with the app name, and a shopping cart icon with the total amount calculated. This is also the first place we use the <lib-product-list> component from the Products library. We’re able to use this component because we’ve imported the library in our AppModule:
Here’s the Web App in the browser:
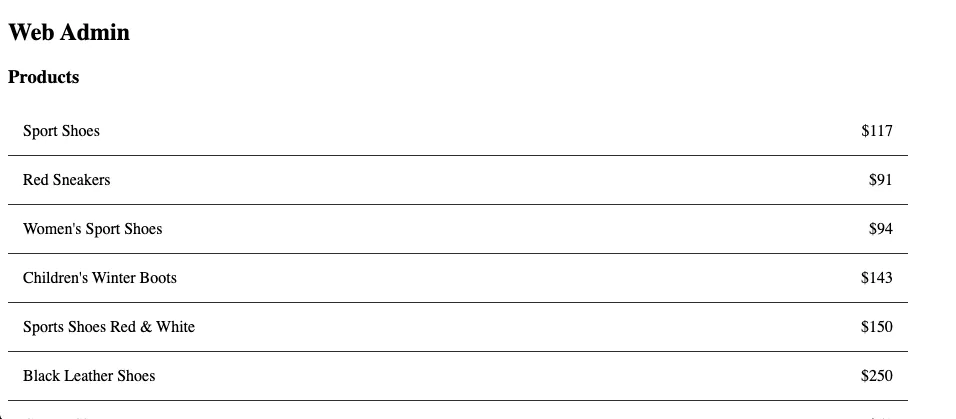
Now we’ll look at the Web Admin application. One of the biggest differences between Web App and Web Admin is that the admin app has routing. There are two different views: a product list and management of an individual product. Because we’re using the Angular Router, the AppComponent just contains a header with the app name and the <router-outlet> element.
The <router-outlet> is available to us because we’ve imported the RouterModule passing ROUTES into its forRoot method.
The Web Admin ProductsComponent looks pretty similar to the Web App AppComponent. It has a handleProductClicked method as well, but this one will navigate the user to the “manage product” view.
Here’s the Web Admin App in the browser:
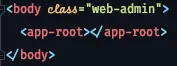
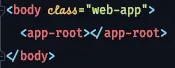
Even though these two applications are using the same <lib-product-list> component from the Products library they look very different. We won’t get into all the unique styles here, but we’ll take a look at what is triggering the difference. In each app, We've added a class to the <body> element in the index.html:
The ProductComponent’s scss file then utilizes the :host-context selector, passing in .web-app or .web-admin respectively.
Back in the Products library, we have the ManageProductComponent.
This component does quite a bit. We’re injecting the FormBuilder, ProductService, and the ActivatedRoute. We build a form, call the ProductsService to get the individual product, and then call it again to save our changes. For our users to access this view, we need a route. Thanks to the Angular Router forChild method, we don’t need to include this in the application module, we can create this route in the library:
In Summary
We just created a new Angular Workspace with two unique applications and a library. By containing shared functionality within our products library, we’ve eliminated redundant code and saved the time it takes to write that code. We’ve also set our team and ourselves up for success in maintaining our applications and building new features.