Welcome to the definitive Angular CLI guide: a multi-part series that will take you from novice to master. This article outlines everything you need to know to get started. If you're already familiar with the Angular CLI, you can check out our "Mastering the Angular CLI" article.
The Backstory
The Angular Command Line Interface (CLI) was created to enhance the Angular workflow by automating tedious and complicated processes such as configuring a build system, serving a local development environment, and scaffolding features. Through years of a concerted effort between the Angular team and community, the Angular CLI has become a vital tool in the Angular workflow that automatically integrates best practices while saving you time.
Install the CLI
To begin using the Angular CLI you must install it globally. We will be using the Node Package Manager (NPM) to install the @angular/cli package. This will allow you to use the CLI commands from anywhere within your system.
Run the following command in the terminal:
npm install --global @angular/cli
This command will install the latest version of the CLI. To install a specific version append the version number to the package name, for example, npm install --global @angular/cli@9.1.0
To check if you have the latest version of a package use the npm outdated command.
npm outdated --global @angular/cli
This command will only print information in the terminal if the package is not the latest version. If no information is printed then you have the latest version.
Under the Hood
The CLI works by mapping commands to an architectural target defined in angular.json (build, serve, etc.). Each architectural target identifies a builder, which is the code executed when you run an Angular CLI command. Depending on the command this builder can generate or modify files, build and serve your app or execute custom code.
Generate an App
Now for the exciting part: generating an application! To start, you'll need to choose a name. Once that is out of the way, run: ng new <app-name> [options] (options can be found in the Angular CLI documentation)
You'll be asked to answer a couple questions before the file generation starts.
For any non-trivial application you'll want to select Yes to the Angular Routing question. The stylesheet format is more of a personal choice but SCSS is the most popular format (and the one I personally recommend).
After the CLI generation is complete you should be left with a folder containing a ready for development Angular app.
Generate Features
The Angular CLI offers the ability to generate Angular features, thereby reducing manual scaffolding. It accomplishes this by defining schematics that are used to generate components, directives, services and more. To generate a feature, run ng generate <feature> <name> from the root of your project. To view all of the built-in schematics, reference the Angular CLI documentation.
Serve your App
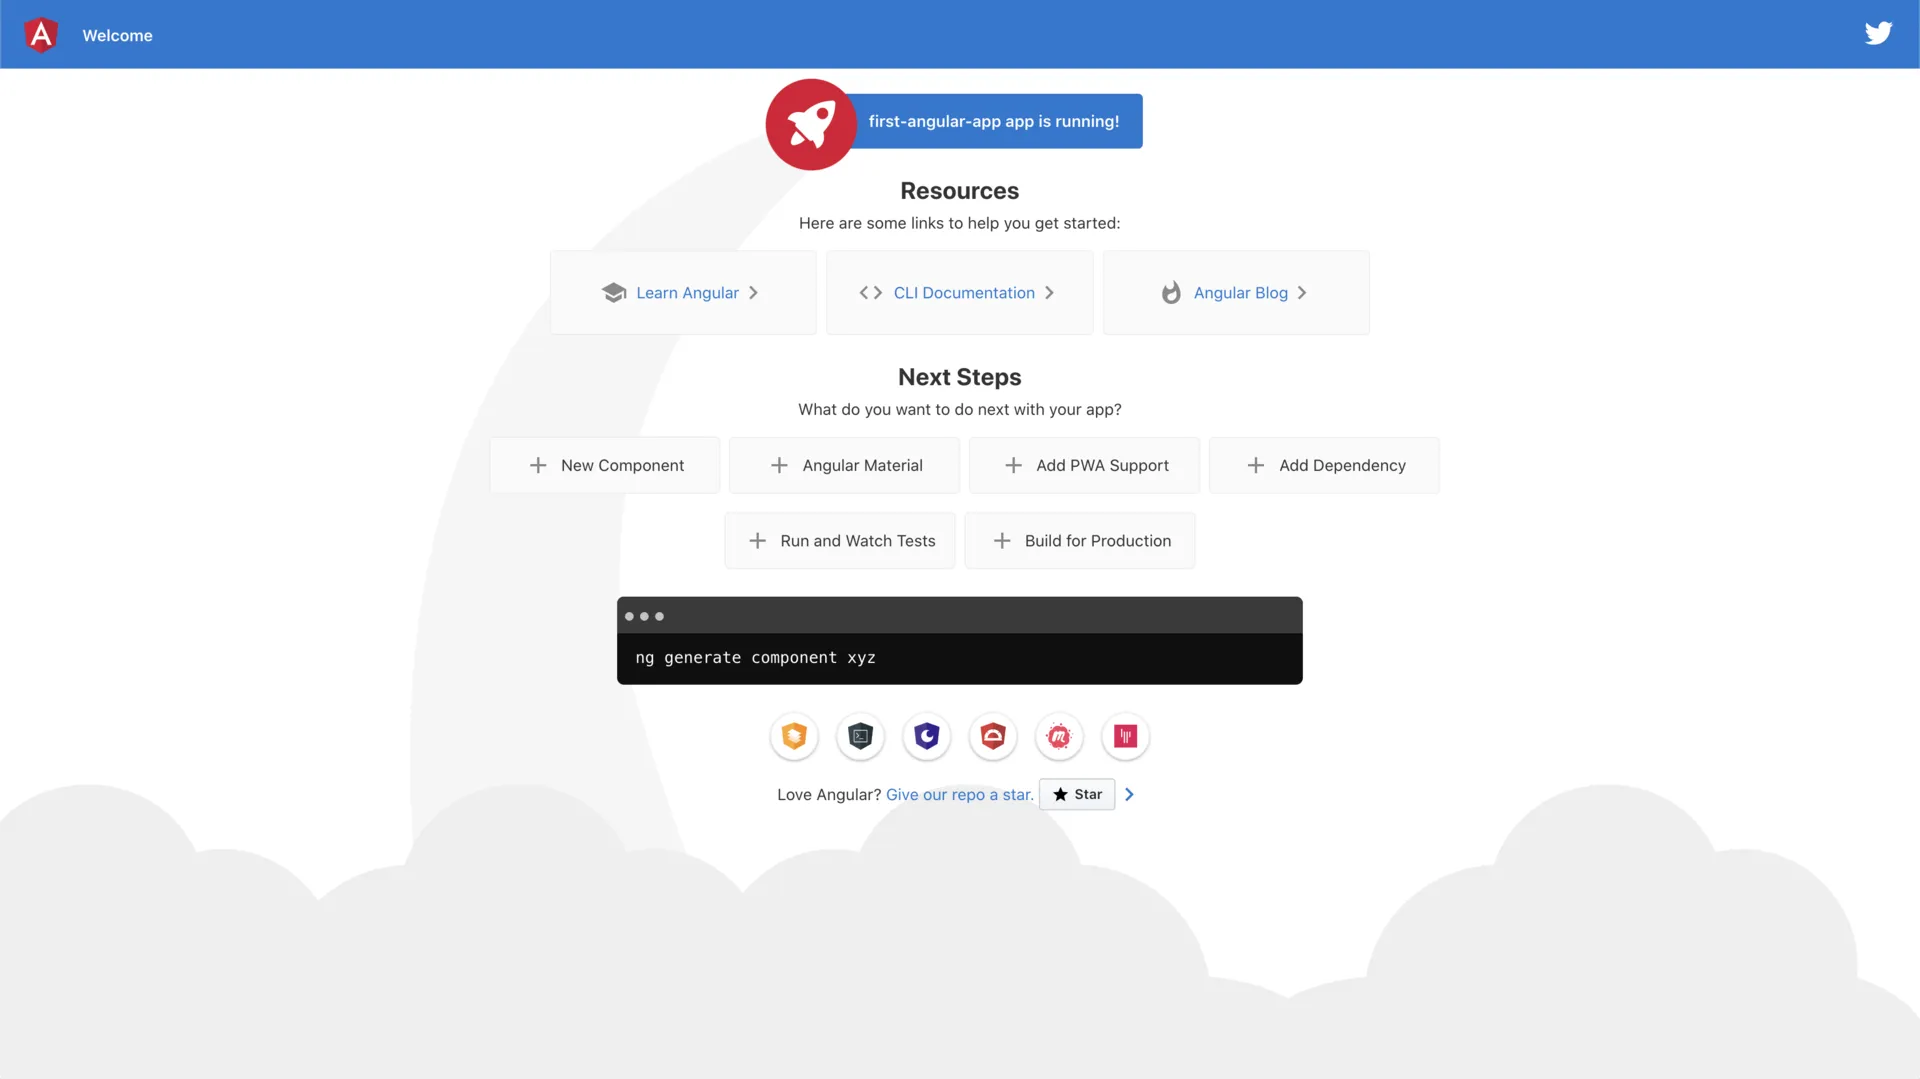
Now that you have an app generated, it can be served! To serve your app locally run ng serve. Your app will be accessible at http://localhost:4200 (port 4200 is the default. You can specify a different port with the --port flag). You should see the following message in the console if your app served successfully:
Viola!
Conclusion
With this guide, you should be able to do the following with confidence:
Install the @angular/cli package
Generate an Angular application using ng new
Use CLI schematics to generate components, directives, services, and more!
Serve your Angular application with ng serve
The Angular CLI is a powerful tool that aids developers in their Angular workflow. Providing a build system, robust local development environment, out of the box testing and file generation through schematics. All while integrating best practices.