I have to admit, I wasn’t aware of this until I saw this tweet and the ensuing thread:
So ... what's the deal with "modal" dialogs on Web pages and phone apps? There are gobs of questions on SO for how to do modals in Angular. I'm curious ... why?
I had understood (even on desktops) that modals were not very user-friendly. As a user, they frustrate me. :-(
While I may not personally hate dialogs, I definitely see the merits in the argument against them and agree that there are likely much better UX alternatives. However, as @sam_ferree mentions in the thread, sometimes they end up in the requirements. So why not make the process of adding them to your project as easily as possible?
Yes, this is another Angular Schematics “how-to” article. This time, I’m going to be showing you how I created a schematic to:
Install @angular/material if it’s not already installed
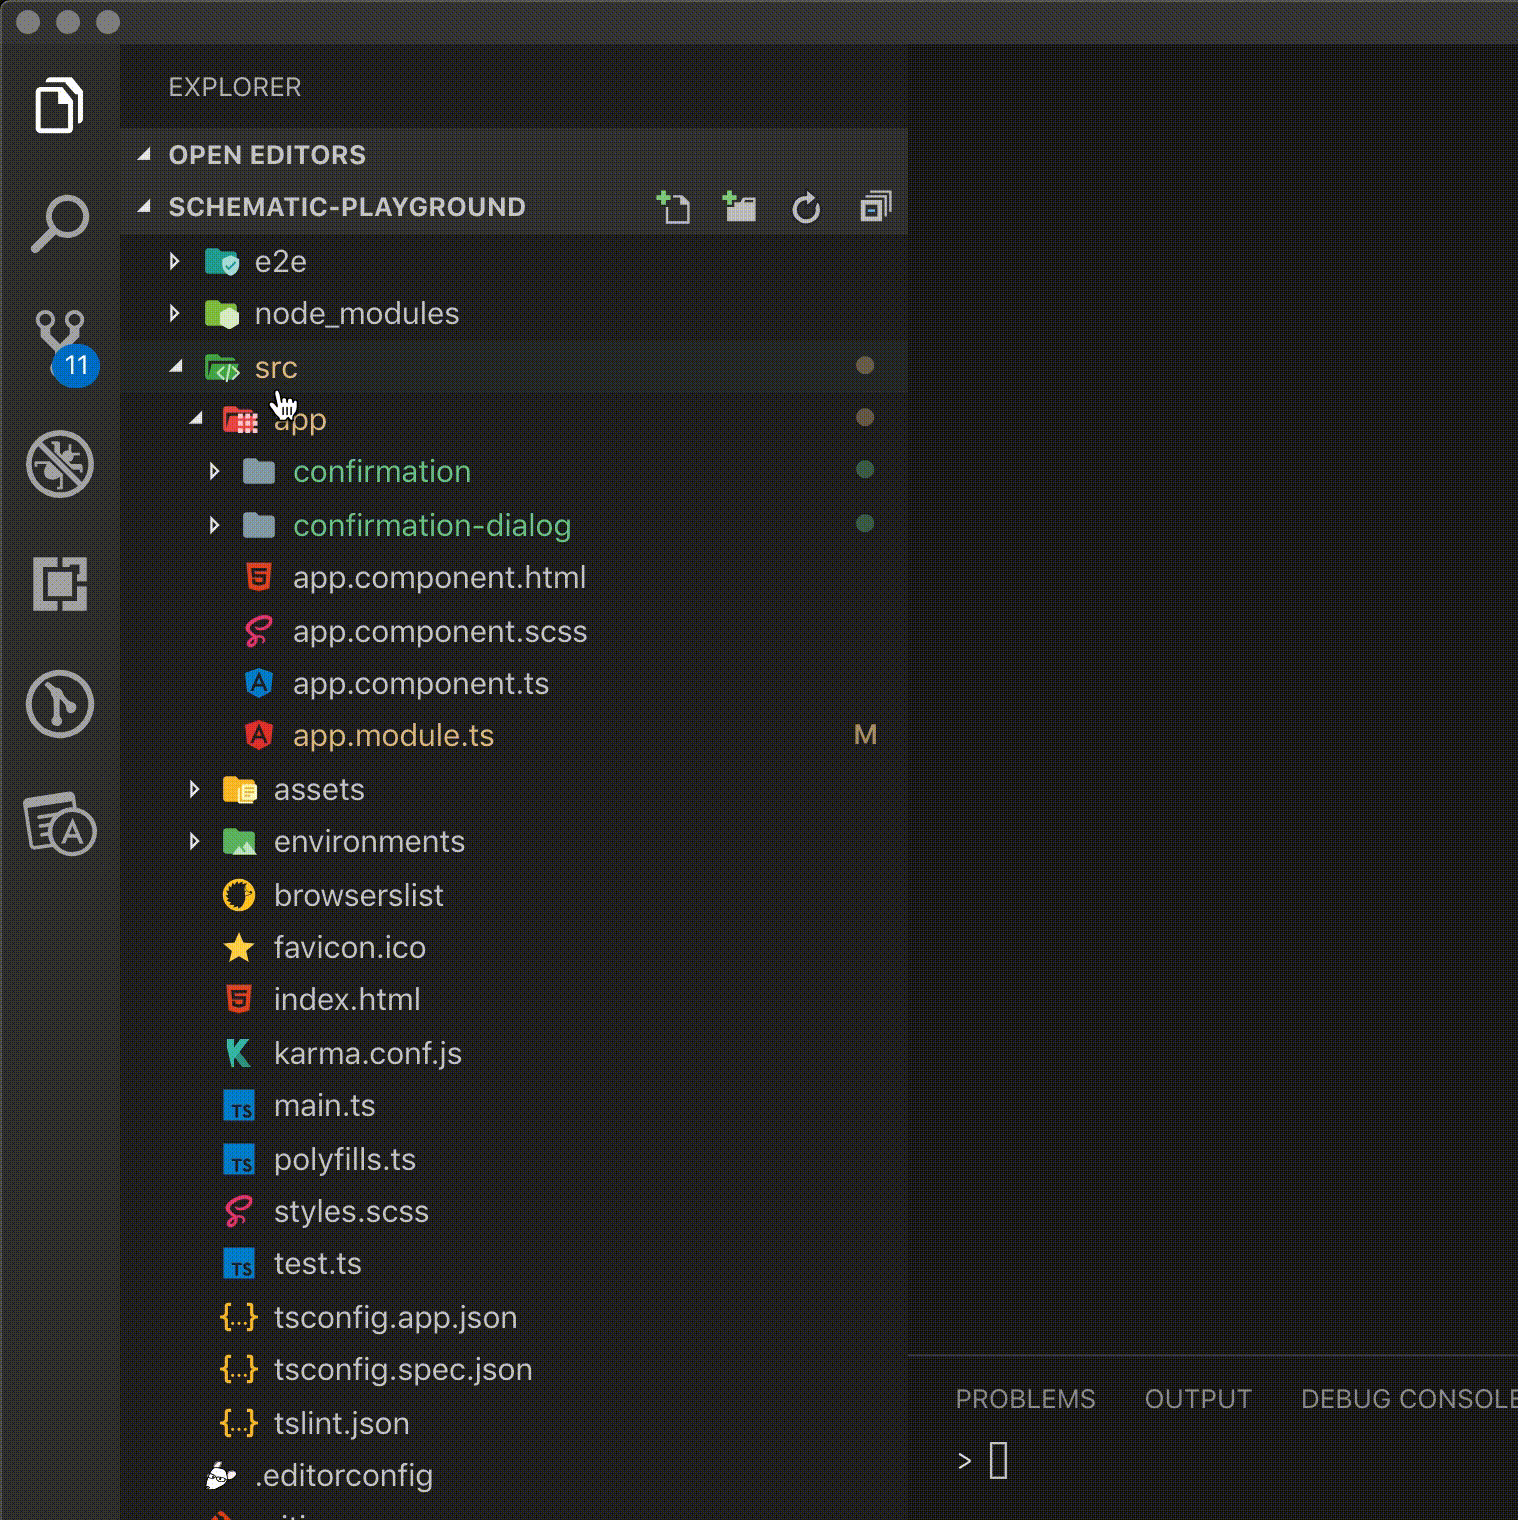
Generate a component from which the dialog is opened, as well as the dialog component itself
Handle the declarations, exports, and entryComponents requirements for the two components
Import the MatButton, MatDialog, and BrowserAnimations modules if not already installed
In this schematic, I utilize the schema.json file to set the required and optional properties of the schematic:
These properties are taken directly from the Angular Generate Component schematic, and as you can see, the only required property is the name. This is also the only property which has a CLI prompt, asking the user:
Next up is the index.ts. This is where most of the functionality lives:
The index.ts returns a schematic Rule which in this case is actually a chain of operations:
Adding @angular/material if it’s not already installed, using the externalSchematic method from @angular-devkit/core
Importing BrowserAnimationsModule from @angular/platform-browser/animations
Importing MatButtonModule and MatDialogModule
Adding our component files to the project
This was my first time using the externalSchematic method, and I have to say, it’s pretty awesome being able to call a schematic from within a schematic.
If you check out the repository, you’ll see a utility directory with three different ts files: dependencies.ts, json-utils.ts and util.ts. The first two are borrowed from the @angular/cli schematics and the util.ts file is custom. These files contain helper methods for building schematics, interacting with the tree, and traversing/modifying JSON. Many of these methods are called from the chain of operations within the index.ts.
In the files directory, you’ll find two sub-directories. One for the dialog component, and one for the component that will open the dialog. The names of the directories and files might look kind of funny at first, they include a built-in schematic method called dasherize (e.g. __name@dasherize__.component.ts ). If you name your component something camel-cased such as deleteConfirmation, this will convert the name to kebob-case (delete-confirmation).
Inside the __name@dasherize__.component.ts you’ll see another schematic method called classify. This one takes your component name and makes it Titlecase.
In the component which opens the dialog component, I’ve imported a few different methods and classes:
Component and OnDestroy from @angular/core
MatDialog from @angular/material
Subject from rxjs
takeUntil from rxjs/operators
These are common in components from which you open a MatDialog. OnDestroy, Subject, and takeUntil all help you clean up your subscription to the afterClosed observable, and MatDialog is the dialog itself.
In the __name2@dasherize__.component.ts, I’ve imported:
Component and Inject from @angular/core
MAT_DIALOG_DATA and MatDialogRef from @angular/material
Inject, MAT_DIALOG_DATA, and MatDialogRef are all required for passing data into the dialog.
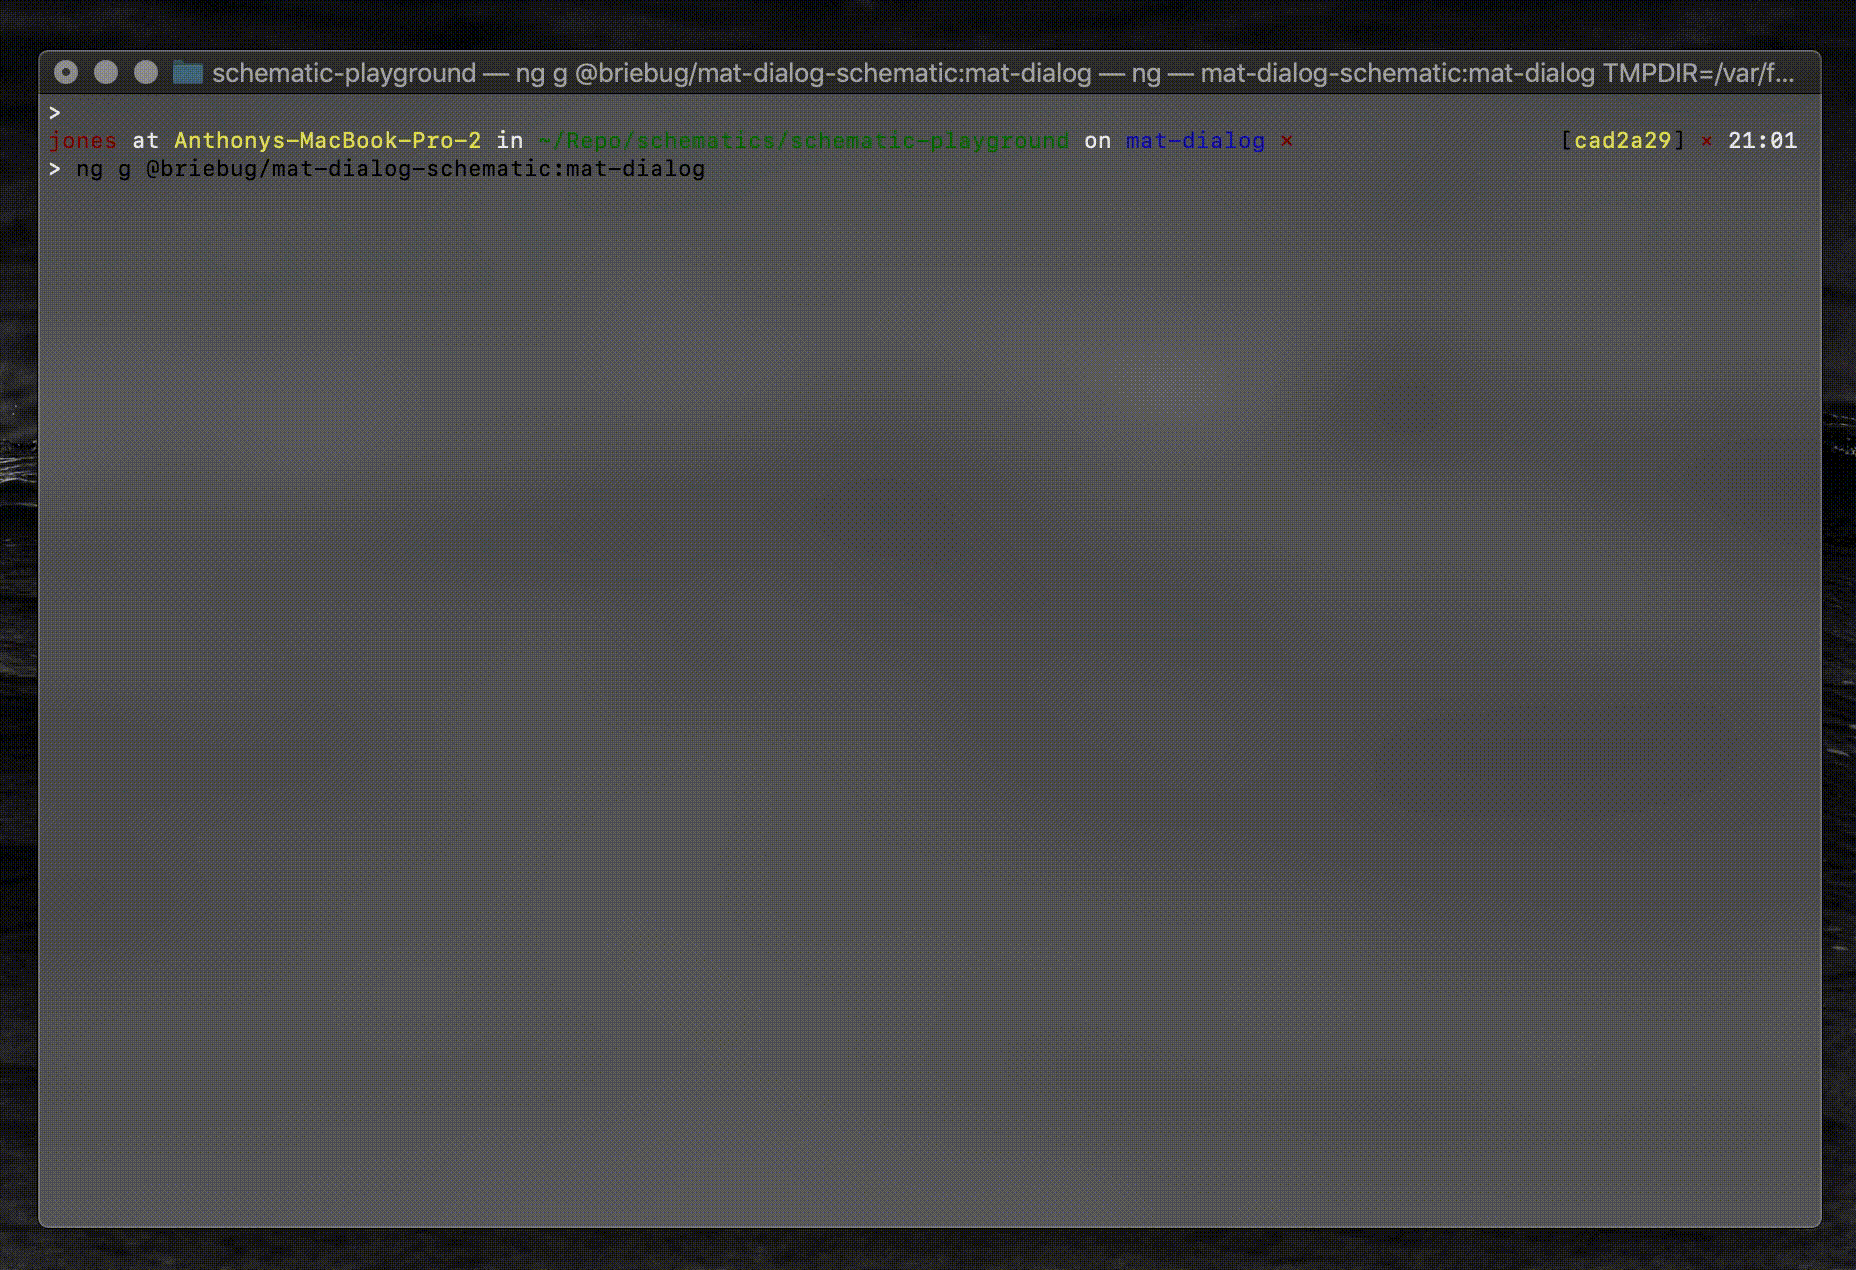
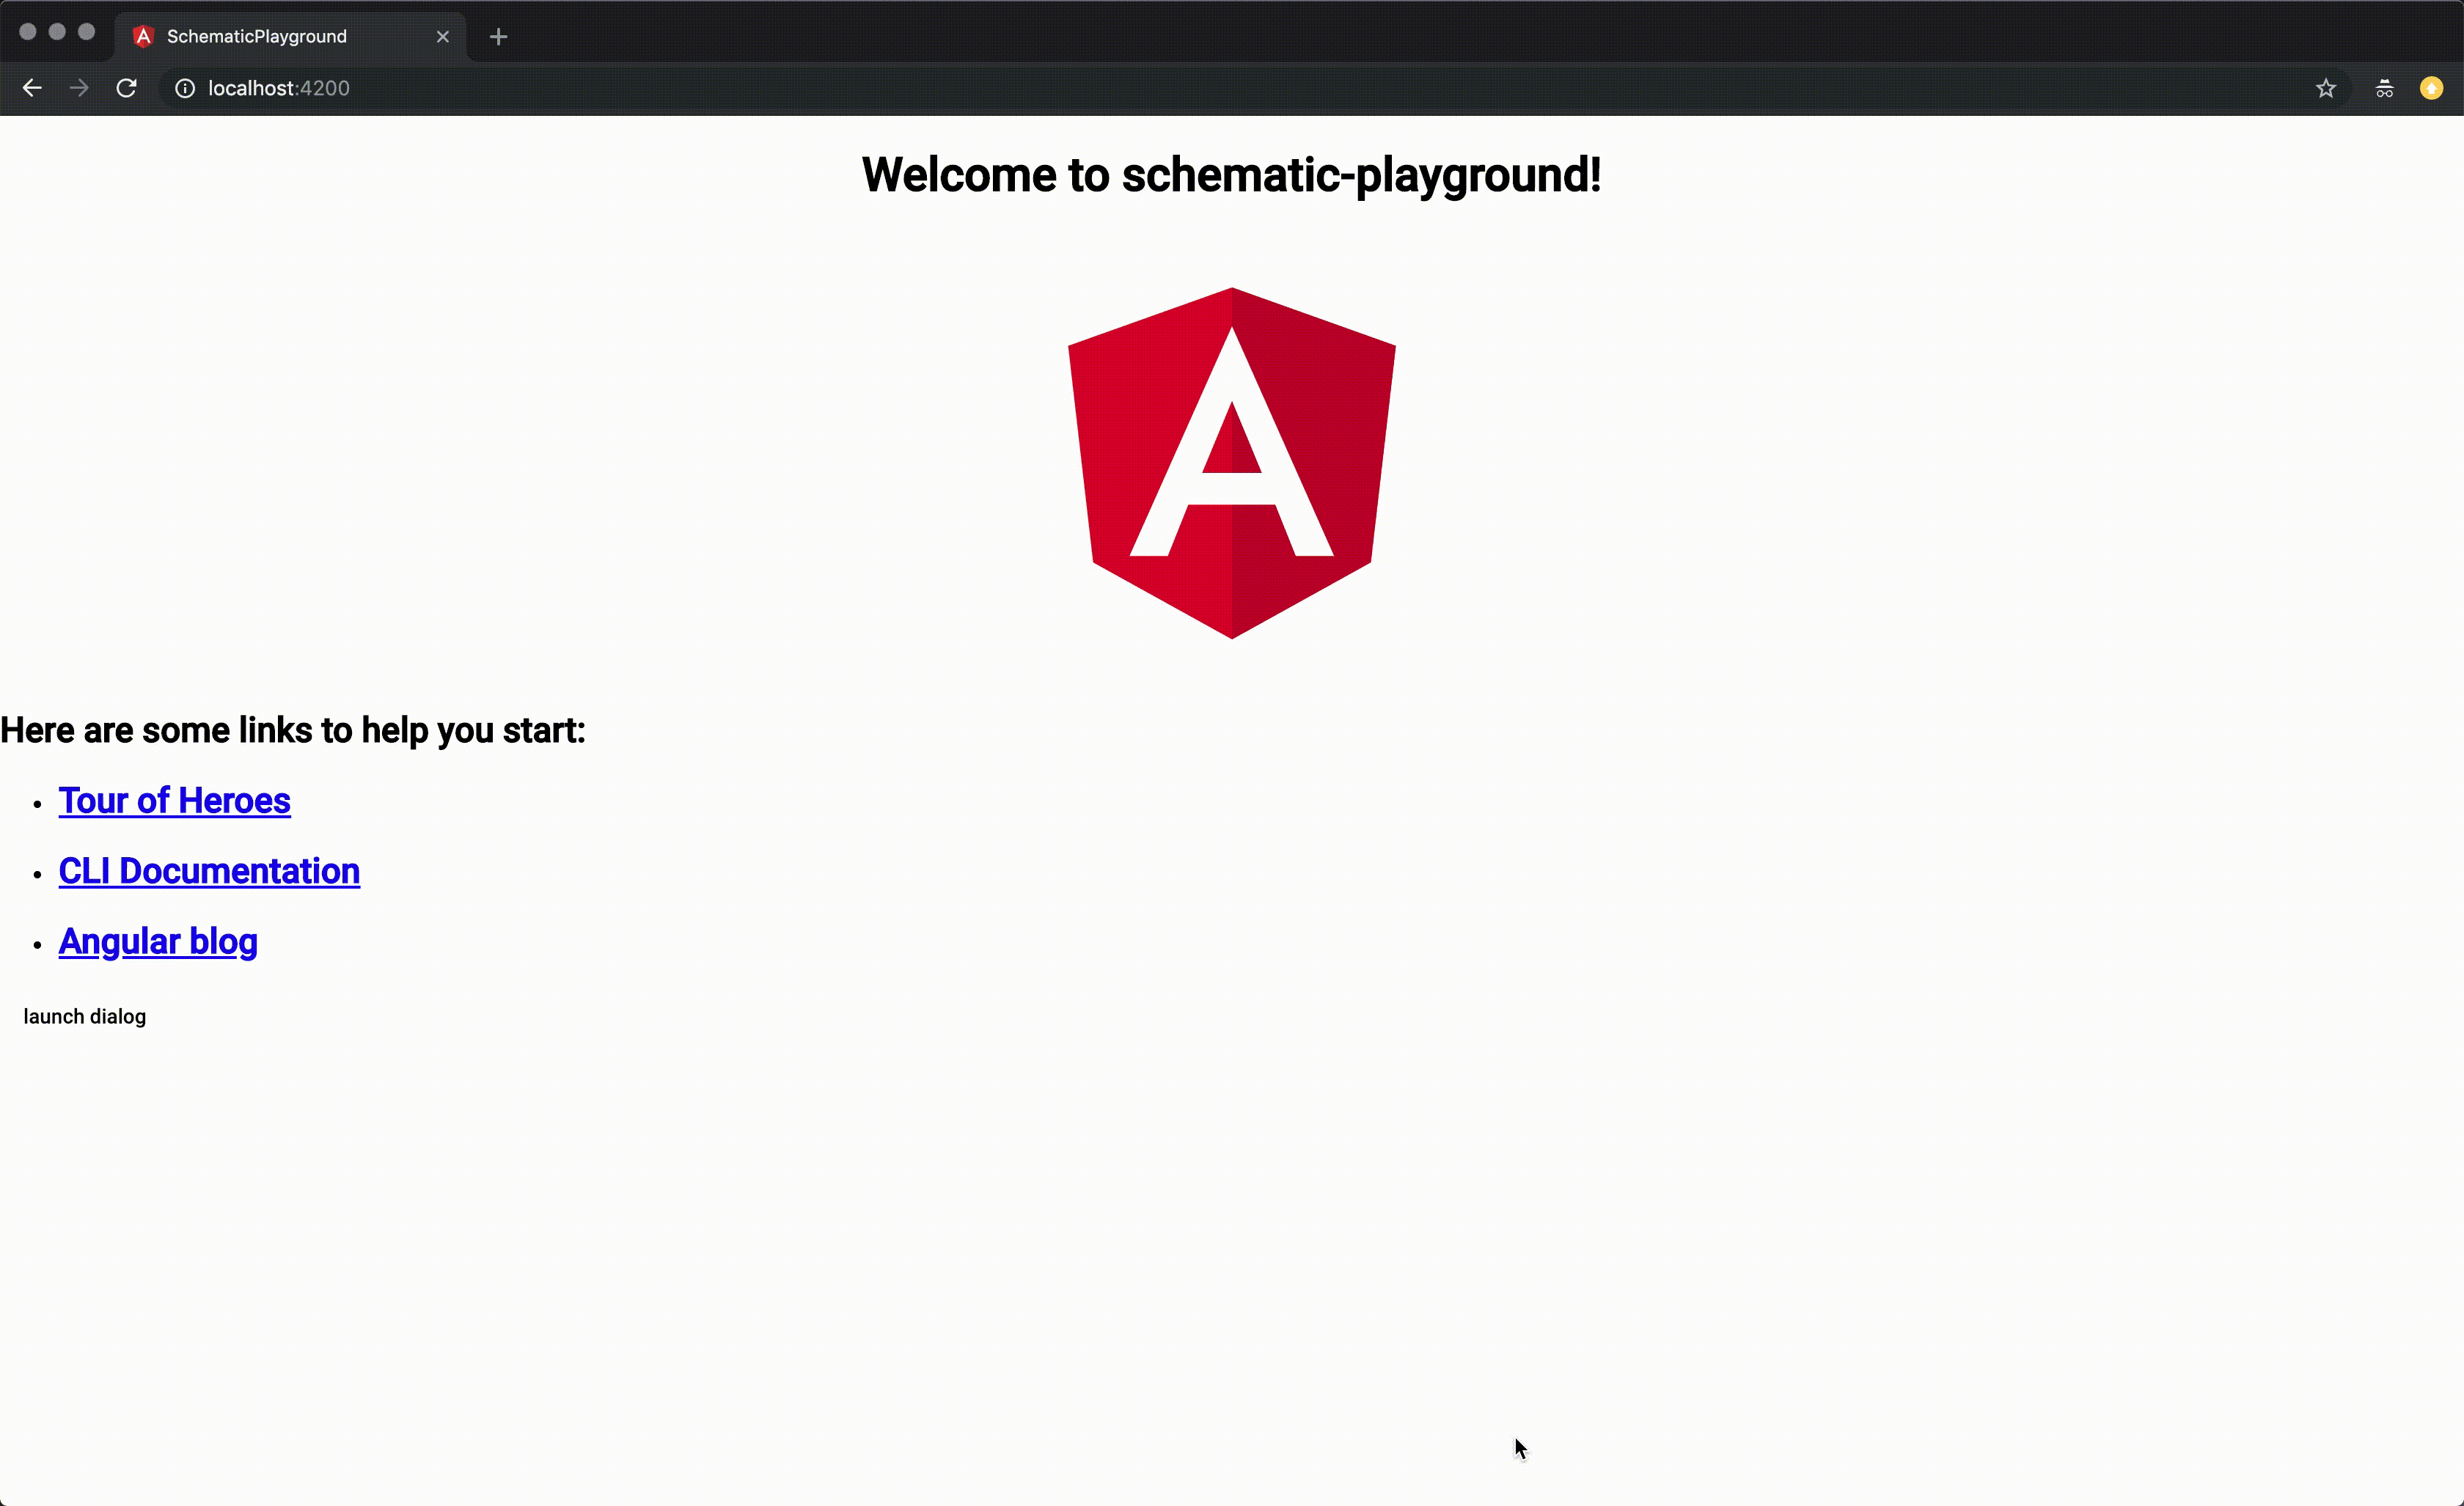
Let’s take a look at the schematic in action.
In this schematic, I was able to addpackage.json dependencies, call an external schematic from my own schematic and add two components with their own directories and associated files to the project. This is just a glimpse into how powerful Angular Schematics are, and how much time you can save by creating schematics for the tasks you repeat often.
Thank you for taking the time to read this article, and if you’d like to dig further into schematics, here are a couple of great resources: